
Light and color experiments offer children a fascinating gateway to understand basic scientific principles through hands-on learning. Creating a kaleidoscope at home combines art with physics, allowing kids to explore how mirrors and light interact to create stunning visual patterns that change with every turn.
Key Takeaways
- A homemade kaleidoscope teaches children about light reflection and color theory through play
- The project requires simple materials: cardboard tube, mirrors, colorful beads, and transparent materials
- This DIY experiment develops fine motor skills and scientific observation abilities
- Children learn about symmetry and geometric patterns through hands-on exploration
- The kaleidoscope project can be adapted for different age groups with varying complexity
What Is a Kaleidoscope and How Does It Work?
A kaleidoscope is a simple optical instrument that creates ever-changing patterns through the reflection of light. Invented by Scottish physicist Sir David Brewster in 1816, this device works on basic principles of light reflection. When you make a kaleidoscope, you’re essentially creating a tube with mirrors arranged in a triangle inside. At one end sits a chamber containing colorful objects, while the other end has a viewing hole.
🔬 Need quality science kits for your experiments?
→ See our tested science kit recommendationsThe science behind a kaleidoscope involves multiple reflections between mirrors. When light enters through the object chamber, it bounces between the mirrored surfaces, creating symmetrical patterns that change as the colorful objects move. This demonstrates fundamental concepts about how light travels and reflects in predictable ways. The angle of the mirrors (typically 60 degrees) determines the number of reflections visible in the pattern.
Materials Needed for Your DIY Kaleidoscope
Gathering the right materials is the first step to make a kaleidoscope at home. I’ve put together a list of items that are easily accessible and affordable:
- Cardboard tube (paper towel roll or toilet paper tube)
- Reflective material (mylar sheets, acrylic mirror sheets, or aluminum foil)
- Clear plastic disc (from packaging or cut from a plastic bottle)
- Colorful translucent items (beads, buttons, small pieces of colored cellophane)
- Scissors and ruler
- Strong tape (duct tape or packing tape)
- Construction paper
- White glue or hot glue (with adult supervision)
The quality of your reflective material will significantly impact the clarity of patterns produced. While aluminum foil is the most accessible option, mylar sheets or small acrylic mirror pieces create more vibrant reflections. For younger children, plastic mirror sheets offer a safer alternative to glass mirrors.
Step-by-Step Instructions to Make Your Kaleidoscope
Follow these simple steps to create your homemade science tool that demonstrates principles of light and reflection:
1. Prepare the mirrors: Cut three equal-sized rectangular strips of your reflective material. The length should match your cardboard tube, and the width should be slightly less than one-third of the tube’s circumference.
2. Create the mirror assembly: Arrange the three reflective strips with shiny sides facing inward to form a triangular prism. Secure the edges with tape, ensuring no gaps remain.
3. Prepare the tube: Cover the outside of your cardboard tube with construction paper for decoration. Insert the mirror assembly into the tube.
4. Make the viewing end: Cut a circle of cardboard slightly larger than the tube’s diameter. Cut a small viewing hole (about 1cm) in the center. Attach this to one end of the tube.
5. Create the object chamber: Cut a clear plastic disc to fit the other end of the tube. Before attaching it, add a small handful of colorful beads, sequins, or small pieces of colored cellophane.
6. Complete assembly: Secure the plastic disc with tape, ensuring your colorful objects can move freely inside. For durability, reinforce all edges with strong tape.
The Science Lesson: Light and Reflection Explained for Kids
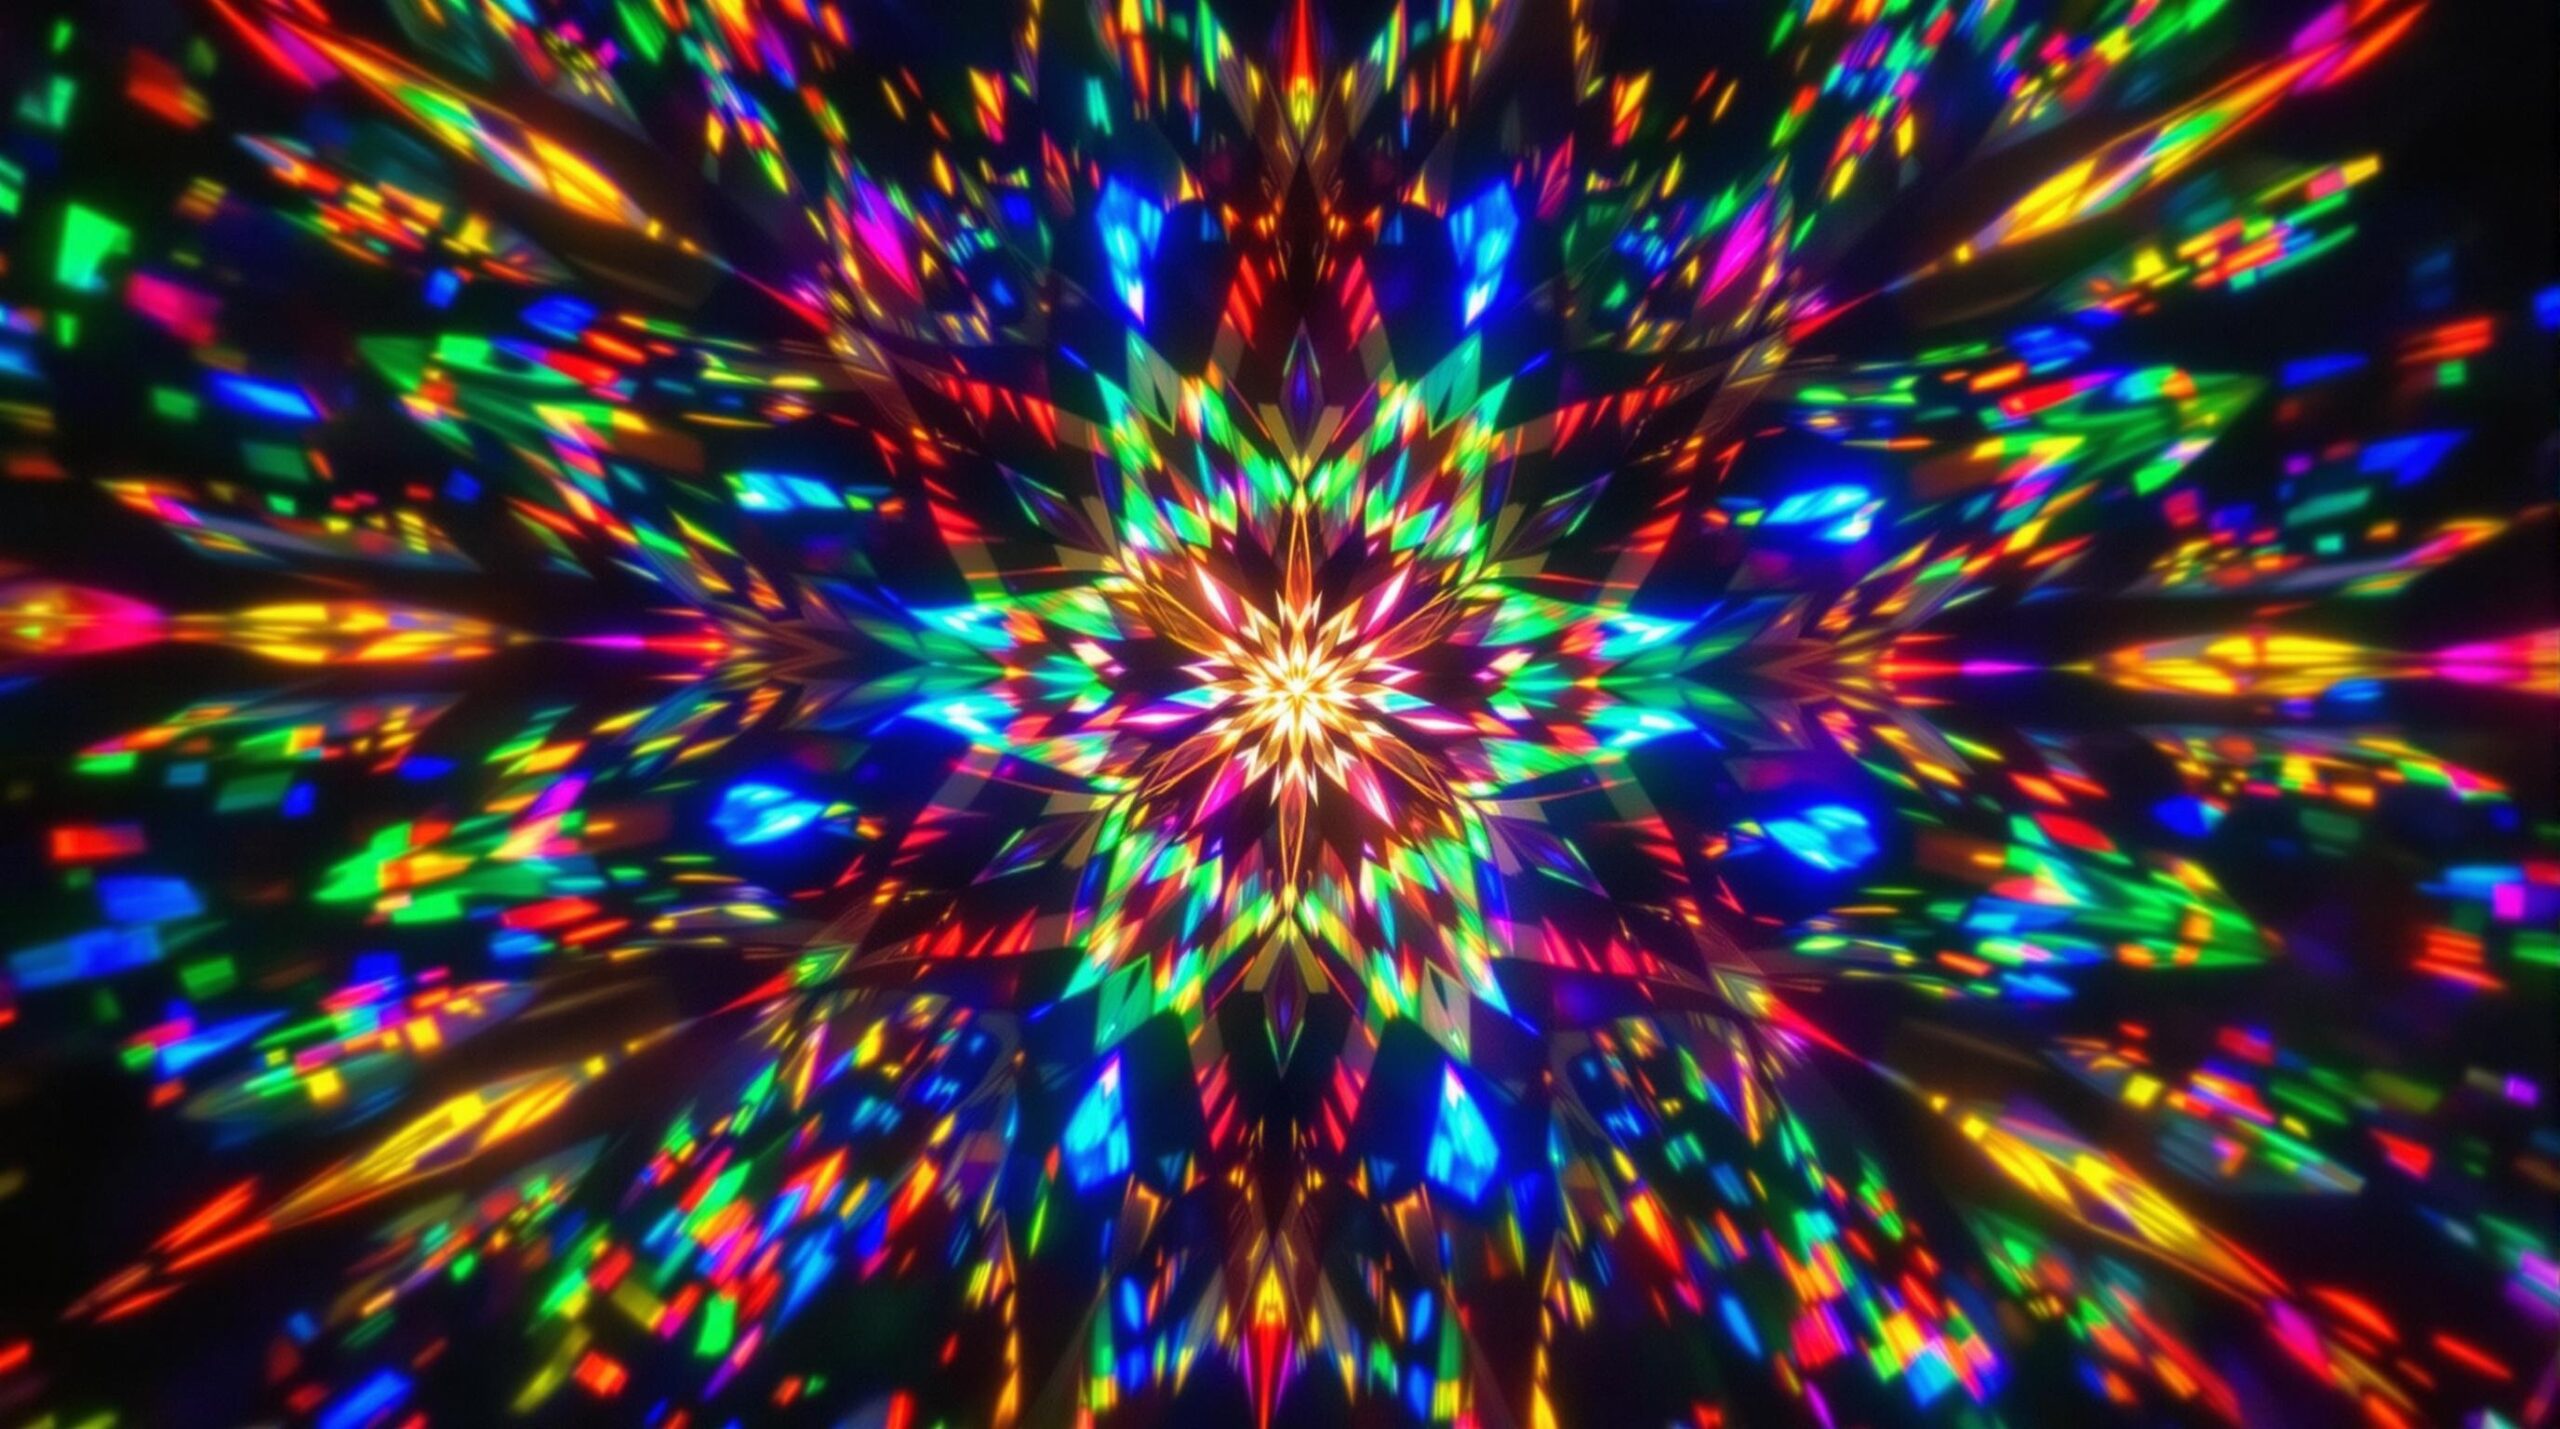
When children peer through their kaleidoscope, they’re witnessing scientific principles in action. Light enters through the transparent end containing colorful objects, bounces off the mirrors, and creates symmetrical patterns. This demonstrates several key concepts:
The law of reflection states that light bounces off surfaces at the same angle it hits them. In the kaleidoscope, light bounces repeatedly between the mirrors, creating multiple reflections. The triangle arrangement of mirrors produces a hexagonal pattern because each reflection creates another image.
Children can experiment with different lighting conditions to see how the brightness affects their kaleidoscope patterns. Taking the kaleidoscope outside on a sunny day versus using it indoors shows how light intensity changes the vividness of the colors and patterns.
Expanding the Learning: Additional Kaleidoscope Activities
To deepen the learning experience, try these extension activities with your homemade kaleidoscope:
- Experiment with different colored transparent papers over the viewing hole to see how they change the patterns
- Create various object chambers with different materials to compare patterns
- Draw the patterns observed in the kaleidoscope to explore symmetry and geometry
- Make kaleidoscopes of different sizes to compare the resulting patterns
- Research the history of kaleidoscopes and their uses in art and science
For older children, introduce the concept of rotational symmetry and how the angle of the mirrors determines the number of reflections seen. A triangle of mirrors creates six-fold symmetry, while mirrors arranged at different angles produce different symmetrical patterns.
Troubleshooting Common Kaleidoscope Problems
If your kaleidoscope isn’t working as expected, check these common issues and their solutions:
1. Blurry or dim patterns: Ensure your reflective material is smooth and highly reflective. Wrinkled aluminum foil or dusty mirror surfaces reduce clarity. Also, check that enough light enters the object chamber.
2. Objects stuck or not moving: Make sure the object chamber has enough space for materials to move freely. The transparent end should be flat, not curved, to allow objects to slide when the kaleidoscope is rotated.
3. Light leaking in: Unwanted light entering the tube from gaps can reduce contrast in patterns. Seal any holes or gaps with black tape or paper.
4. Mirror assembly shifting: If the mirror triangle moves inside the tube, secure it better with tape at both ends or use a dab of glue to hold it in position.
Kaleidoscope Variations for Different Ages
This project can be adapted for various age groups by adjusting the complexity and materials:
For preschoolers (3-5 years), focus on a simplified version using a tube with plastic mirrors pre-arranged by an adult. Let them decorate the outside and choose colorful items for the object chamber.
Elementary students (6-10 years) can follow the basic instructions with some adult help for cutting materials and handling mirrors. They can understand the basic principles of reflection and symmetry.
Middle schoolers (11-13 years) can create more sophisticated designs, experimenting with different mirror arrangements and angles. They can incorporate mathematical concepts like angles and symmetry into their design process.
High school students can explore more advanced optical concepts, including how different lens configurations might affect the images, or how changing the angle between mirrors creates different symmetry patterns.
Connecting to Real-World Applications
The humble kaleidoscope demonstrates principles used in modern technology and science. After making their kaleidoscope, discuss with children how similar principles are used in:
- Periscopes in submarines and surveillance equipment
- Telescopes and microscopes
- Camera lenses and photography
- Fiber optic technology that transmits internet data
- Solar panels that capture and reflect light
Understanding light reflection isn’t just for fun—it forms the basis of many scientific advancements. From medical imaging equipment to telecommunications, the principles children observe in their kaleidoscope apply to countless technologies they encounter daily.
Conclusion: The Value of Hands-On Science Learning
Creating a kaleidoscope offers more than just a fun craft project—it provides meaningful engagement with scientific concepts through direct experience. When children make a kaleidoscope, they’re not just following instructions; they’re building a tool that demonstrates physics in action.
This hands-on approach to learning science concepts helps children develop critical thinking skills and a deeper understanding of the world around them. The process of building, testing, and refining their kaleidoscope teaches persistence and problem-solving. Plus, the spectacular results give children immediate positive feedback that reinforces their interest in scientific exploration.
By combining art, science, and play, the kaleidoscope project creates a memorable learning experience that can spark a lifelong interest in scientific discovery. The next time your child asks how rainbows form or why the sky is blue, remember that simple projects like this one can open doors to understanding the fascinating world of light and color.